Example Single Crate Configuration
This example assumes that the CODA 3 distribution has been unpacked, and that the proper shell environment has been configured as described in README_CODA3.txt.
In an xterm/terminal:
jceditA pop-up window should appear, asking to confirm the creation of a new COOL database directory
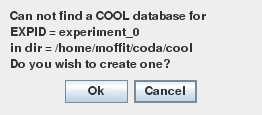
The directory should match that of the environment variable COOL_HOME. Click OK.
You should then be presented with a blank canvas of the COOL Database Editor.
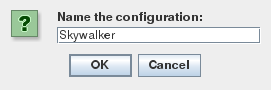
Lets create a new configuration called "Skywalker".
- In the File drop-down menu, select New... or just press Control-n.
- Enter Skywalker in the dialog pop-up window and Click OK:
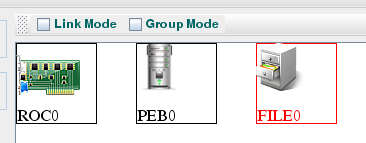
- Left Click the ROC Icon and drag it into the main Canvas. The Component will appear with the label ROC0 when the left mouse button is released.
- Left Click the PEB icon and drag it into the main Canvas.
- Left Click the OUT icon and drag it into the main Canvas. Your main canvas should now look like this:
Now, lets adapt this general setup to our specific made-up configuration. Double click each component to fill in the minimal details:
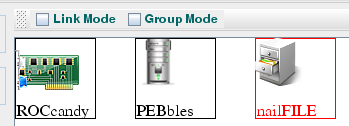
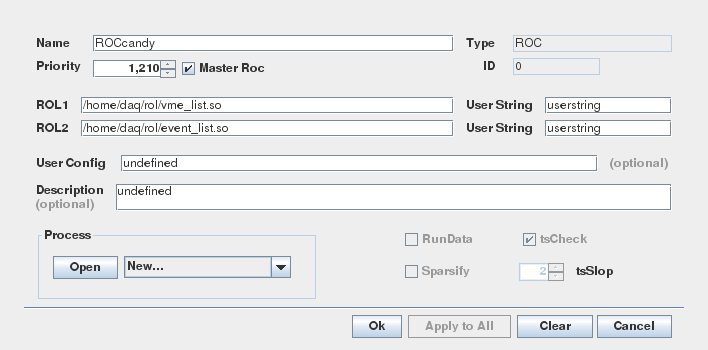
- ROC (ROCcandy):
- hostname: candy.jlab.org
- rol1: /home/daq/rol/vme_list.so
- rol2: /home/daq/rol/event_list.so
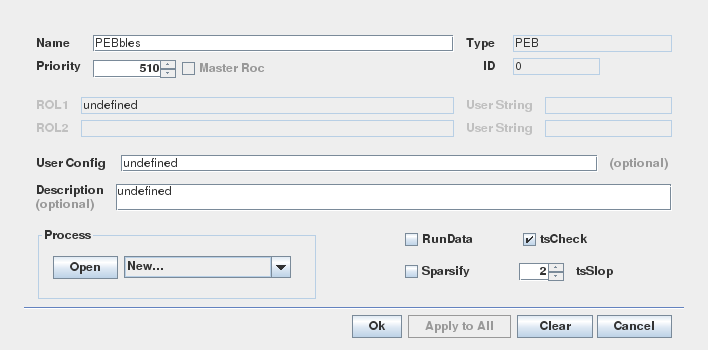
- PEB (PEBbles):
- hostname: pebbles.jlab.org
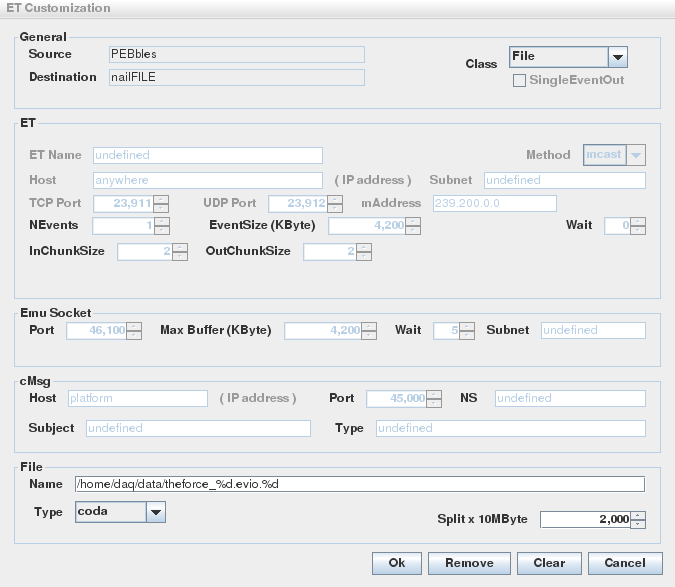
- Output file (nailFile):
- /home/daq/data/theforce_%d.evio.%d
ROC:
PEB:
OUT:

Now connect the components.
- Left Click on the Link Mode box so that it contains a check mark.
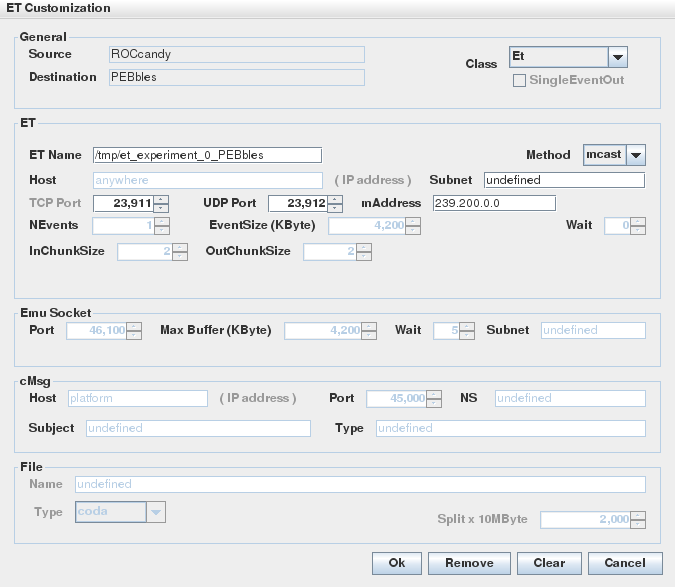
- Left Click and drag from the ROC to the PEB. A dialog box should appear (the defaults are fine). Click OK.
- Left Click and drag from the PEB to the OUT. A dialog box should appear (the defaults are fine). Click OK.
- The final look of the canvas:
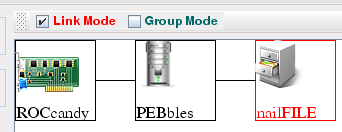
All done! Save the final configuration: Select Save from the File drop-down menu, or Control-S.